Posts

Showing posts from 2014

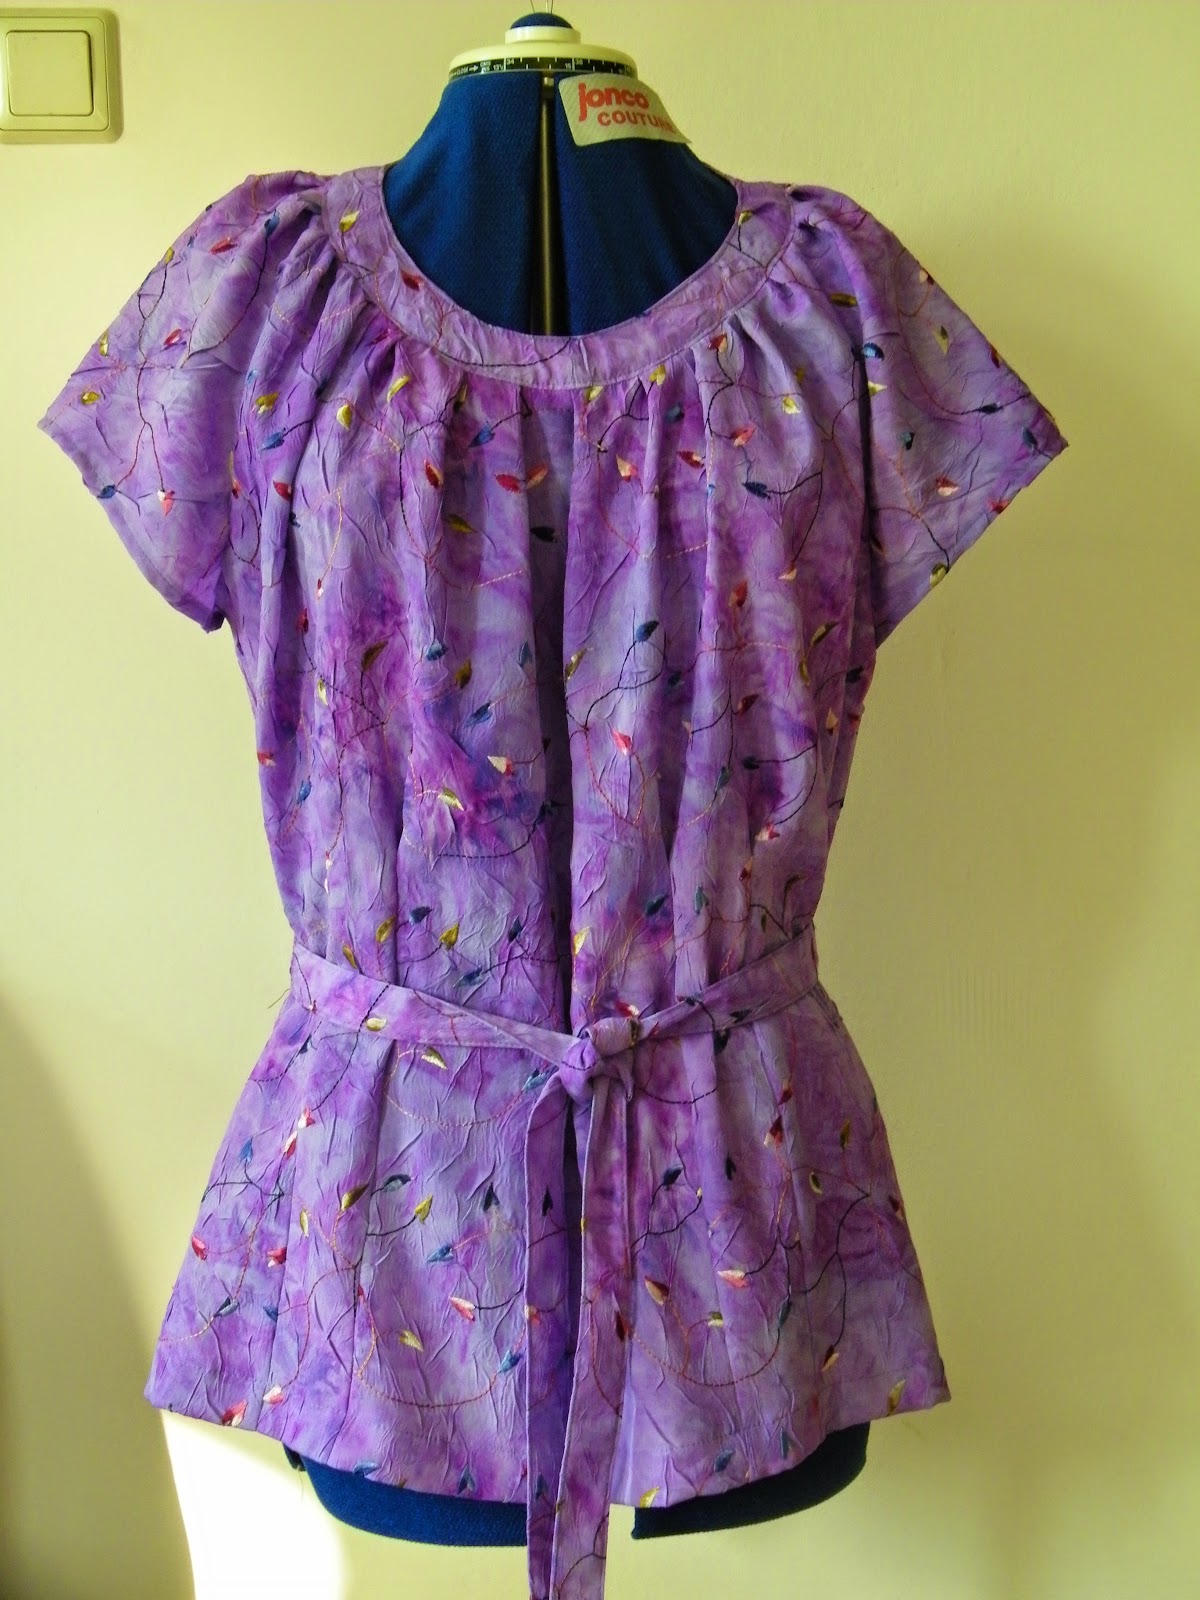
Colourful top - KnipMode Special Oct. 2013

Image
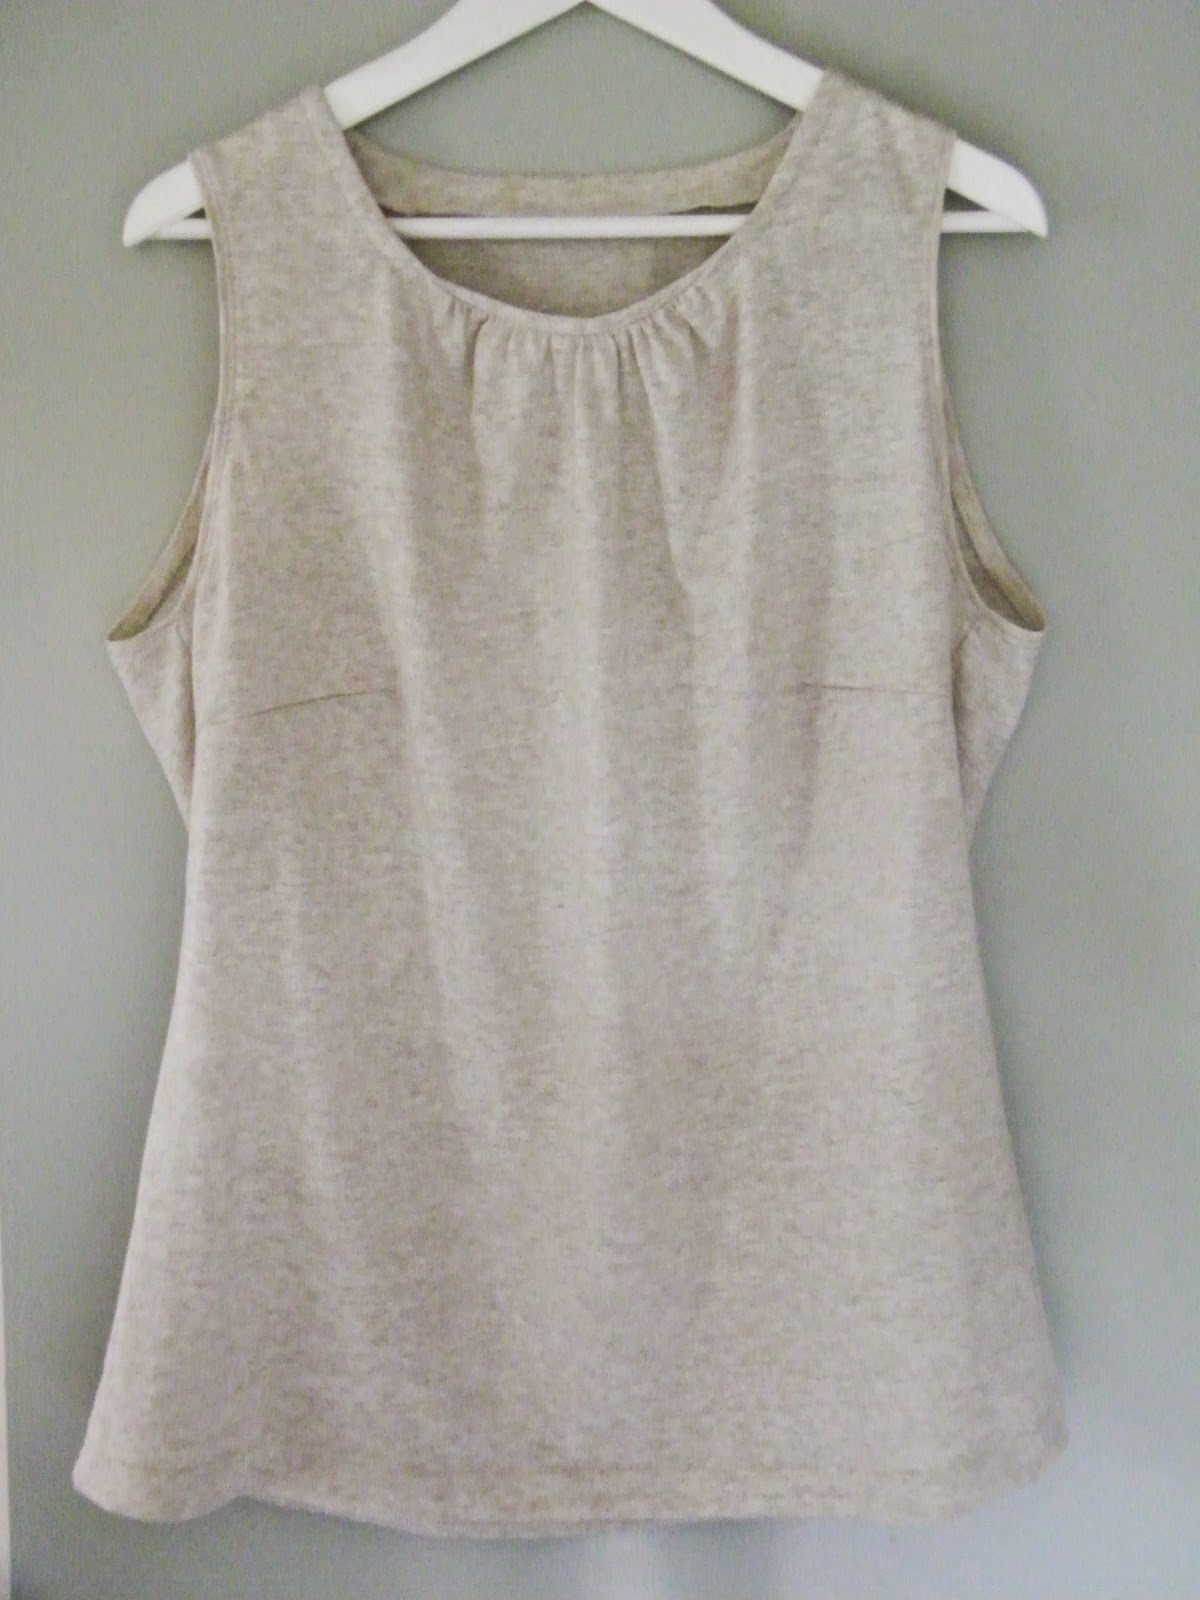
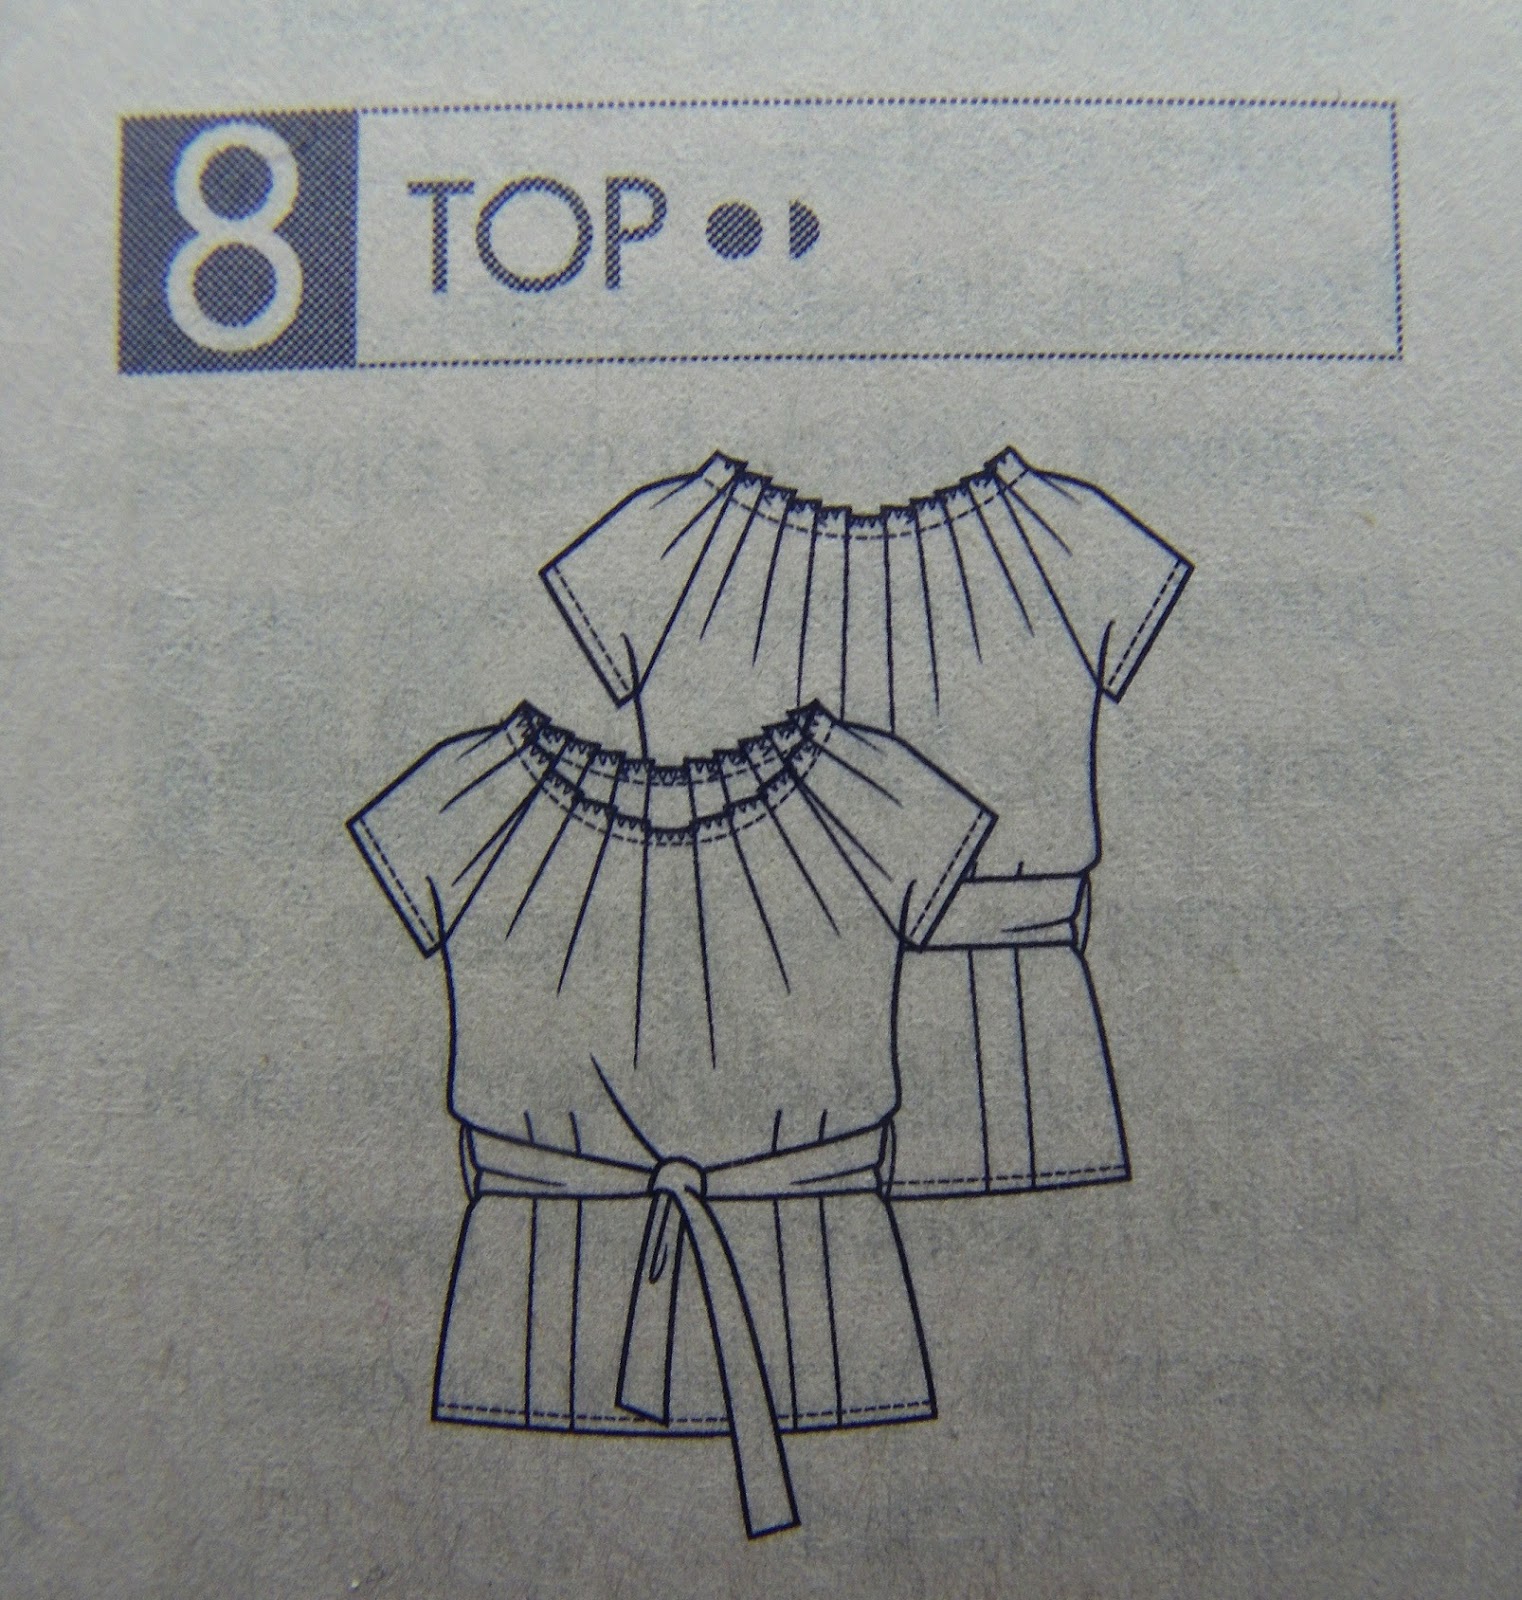
This top is really cheering me up with its great, vibrant colours. Something we could all use in these, most of the time, gray and cold days. At some places the colours look faded, but that's the print. The pattern is from a KnipMode special, which I can't find anywhere by the way. The original has a little strip of fabric that goes through a hole in the front, just beneath the drape and then you tie the ends together and by that gather the drape. Boy, does that even make sense to you? Anyway, I didn't use it. Nor did I use it in the same top I made about a year ago. And that's a colourful one as well. With that top I made a belt (not shown in the picture, couldn't find that either :-( I left out the belt this time and instead took in the sideseams, and now it's a more fitted top. (You got to trust me on that. I don't feel like taking a picture of me as I am down with a cold and not looking too well.) What I like particularly is the fact that the

The facing that wanted to come out and play.

Image
Yes. Another simple project... I almost feel the need to apologise for the fact that my sewing might seem a bit boring lately. But for me it isn't. No matter how simple it looks, there are always some problems to overcome and when I do, I am quite happy with the outcome. This top is a good example of that (first picture is a bit crappy though...)       As you can see, my top has no sleeves. Here's why.It all started with a piece of fabric I bought at a local fair for only € 3 ($ 3,80 / £ 2,30). Soon after that the idea came up to sew a trendy, oversized shirt with short sleeves. It took some time to find a matching pattern. (MUST NOT BUY FABRIC WITHOUT A PLAN - I REPEAT...MUST NOT etc.) This pattern is from a magazine called 'Diana'. (More about that later). When that was solved too it was time to cut the fabric. It was then I discovered a big yellow stain, which eliminated 1/4 of the fabric I could use. Bummer..... So what was I to do?

Alterations

Image
First of all: a big, big thank you to everyone who left a comment on my last post, suggesting what could be the problem I was having with my yellow blouse and possible ways to solve that. This is so much appreciated! Sometimes in life you need help and you don't know who to turn to. But ask fellow-sewers for help and they all come to your rescue. That's so kind and sweet! So again, from the bottom of my heart: THANK YOU GUYS! Now. On to the alterations. Some of you suggested that maybe I need to create more space in the upper-back. I started to take a closer look at pictures of me from the side, and I was surprised to notice that I do have a rounded upper-back. Why didn't I notice before?! Besides that, I Always feel that my tops and blouses are hanging shorter in the back than the front. That may also be a result of the fabric pulling up at the top. Wow. This does make a lot of sense. I definitely have sloping shoulders. That could be part of the problem too. But I am

I need some sewing-advice

Image
First the good:     Then the bad: I have a problem. And I need your advice. Please! I can't go on sewing blouses like this. Everytime I sew a blouse in a non-stretch fabric, the same problem occurs, namely this:     You see the draglines in the back, pointing from the neckline to as far as under the arm? I'm sooo tired that this happens every time. I just don't know how to make them go away. It looks like my arm is pulling the armscye down, like it's too high for my body. At first I thought I could solve this by lowering the armscye as a whole. I once tried this on another blouse. It helped maybe a little bit, but unfortunately, if I moved my arms, the complete shoulder/neckline moved upward, like someone had put a clothes hanger in it and lifted that up. Not a good thing. I also don't think that the armscye is too small. There's enough room to move. So yeah, I need your help. If anyone knows a way to solve this, I would love to

No words.....

Image
(source: 'BeeldBlog Brekend.nl')

Yes, finally!

Image
Whooheee!! It took a lot of tweaking but it was worth e-ve-ry minute! As you can see I decided on plan b: a band to finish the neckline. First I tried plan a: deepening the pleats, and that seemed to work. But after I stitched the neckline to secure the pleats in place, it had become widen again. Whaat?! So plan b it was. I pinned the pleats in the patternpaper so that I could use that as a guideline to draft the patternpieces for the band, which is 3 cm wide. And that did the trick. This fits and looks so much better on me. Now it's not gonna drop of my shoulder or show any bra-straps. Nor do the pleats end in an awkward and rather abrupt way next to my skin. Yes, I am very pleased with the outcome. I sewed the pleats in the back as darts. That eliminated just enough of the excess fabric to create a smooth line. There is no bulkiness above the waistband any more. When I basted the hem, I saw that the back was higher than the front. Suppose having a swayback does that

KnipMode blouse - a lot of tweaking

Image
After all that harsh blue I was in the mood for something a bit more cheery. The fabric I'm using for my next project has been attracting my attention for a long time. It's a lovely vibrant lilac colour with embroidery. I had no idea what to do with it, until I found this pattern: I love all the pleats, the round neckline, the short sleeves. I just love the whole silhouette of this blouse. Especially the way how the pleats are sewn down from the waist to the hem. This gives a nice fulness in the upper part of the blouse, but creates at the same time a more fitted lower part. Very much to my liking. There are however some issues. Things that need changing. The (lower) pleats Unfortunately, the pleats that work so well in the front, are misbehaving in the back just above the waistline. What I will do is sew the pleats up from the waist and treat them like darts. This should take away some of the excess fabric. The neckline The neckline is also very wide, alth
Image
Though the plan was to NOT make a sleeveless summertop, I realised there wasn't enough fabric left to make anything else. So I went on with it. I drafted the pattern myself about a year ago, using a store-bought shirt as an example, and this is the third time I'm using it. So I guess it qualifies as a TNT. Anyway, here's the picture: Like the Swedish popgroup Abba sings in 'The winner takes it all':  "It's simple and it's plain, why should I complain?" Yes it's simple but I can use this top a lot this summer. I was able to make two pieces out of this lovely fabric. So yeah, I'm content and not complaining. (The Blue Lady, who has been in my life for more than 20 years and has served as a model numerous times, has begun to show some signs of aging. Like most ladies start to wrinkle when they get older, she is no exception. (Poor thing!) After three fairly simple pieces, I think it's time to make something with a little bit m

Knit top finished

Image
This was an easy but very satisfying project. I have to say 'thumbs up' for the fit of this design. I just had to add a little bit of width at the hip and some at the sleeves (but that's a normal adjustment for me). That was all. I also narrowd the neckline because it was a bit too wide to my taste. The ruched sleeves are not very noticeable in the front, but are still a nice feature on this - let's face it - otherwise rather plain shirt. My favourite way to finish a neckline, with a binding: You can't see it in the linedrawing but for the sizes 46 and up, they added length to the front-pattern at bustheight. By gathering this surplus of fabric - we're talking about approximately 2 cm (5/6") over a length of 14,5 cm  (5 2/3") for size 46, you create some extra space and shape in that area. I wouldn't call this an FBA, but an SBBA (Slightly Bigger Bust Adjustment - Yep, I made that up). I've never seen thi

Ottobre Design - summertop - that's the plan

Image
While it's raining cats and dogs outside, I'm thinking about summersewing. So I looked up some old magazines and found an issue of Ottobre Design (Spring/Summer 2012) that I once got as a birthdaypresent from my sister-in-law. There are some interesting designs in this issue but I never came round to sew with these patterns. Browsing through the magazine, my eyes were immediately drawn to this shirt: Not very difficult to make and not a lot of work. Exactly the kind of project I need after the outcome of the green cardigan. Besides that, I like the ruffled sleeves. My narrow shoulders could do with some extra room in that area. The instruction for sewing the sleeves is rather unpractical. They tell you to sew the elastic (to ruffle the sleeve), onto one side of the (open) seam. Then close the seam while stretching the elasticated side to accommodate the other side. Wháát?? No way I'm gonna do it like that. I'll just close the seam and sew the elastic on the sea

Room for improvement

Image
Well, what can I say about this? That's a rhetorical question of course. What can you nót say about it? It has draglines in the front (FBA-fail) and folds in the back, both sleeves and bodice are too short, sleeves look twisted, also the sleeve-inset is weird and shows lines where there aren't supposed to be any,  I did not use the right colour of thread because I didn't have it in my stash and I was too lazy to go out to buy some. And to top it all off: when I cut through the buttonholes, two of them got damaged in the stitches. Two!! How did that happen?? Oh, and I had to rethread my serger about 8 times before it finally stopped snapping the thread. In my previous post I was telling you how proud I was that I finally mastered the famous FBA. I have to rephrase that (hangs head in embarrassement...) Let's just say I understand some of the technique but not enough to make it work. Not yet anyway. The good news? I didn't give up and persevered to the end! And

Back. Again.

Image
Hi guys, it's me! Let's talk about sewing!! It's almost been 1,5 year since I showed you something. Waaaay too long! I have been sewing but just didn't feel like blogging. I want to pick that up because it was always good fun and God knows I need some fun in my life right now. And I would lie if I said that I don't have the time for it. Let's start the next phase of this journey with a green cardigan. It's still early days as you can tell: Years ago I used this pattern to sew a jacket in a boucle-fabric and I wanted to use it again. This time the fabric is much thinner (cotton with just a bit of stretch). It's gonna be somewhat of a challenge to make it look and fit nice again. I hope it will work out in the end. My body changed through the years and adjustments here and there are required. The biggest change is a full-bust-adjustment (FBA). I'm so proud for figuring out how to do that. Besides that I lengthened the pattern 3 cm in the waist